Tips for Tile Placement in Your Bathroom Renovation
Tiles are a game-changer when it comes to bathroom renovations. They’re stylish, durable, and easy to maintain, but the key to making them really shine is getting the placement just right! Whether you’re doing a full renovation or just updating a few areas, here are some friendly tips to help you nail your tile game and create a space you’ll love.
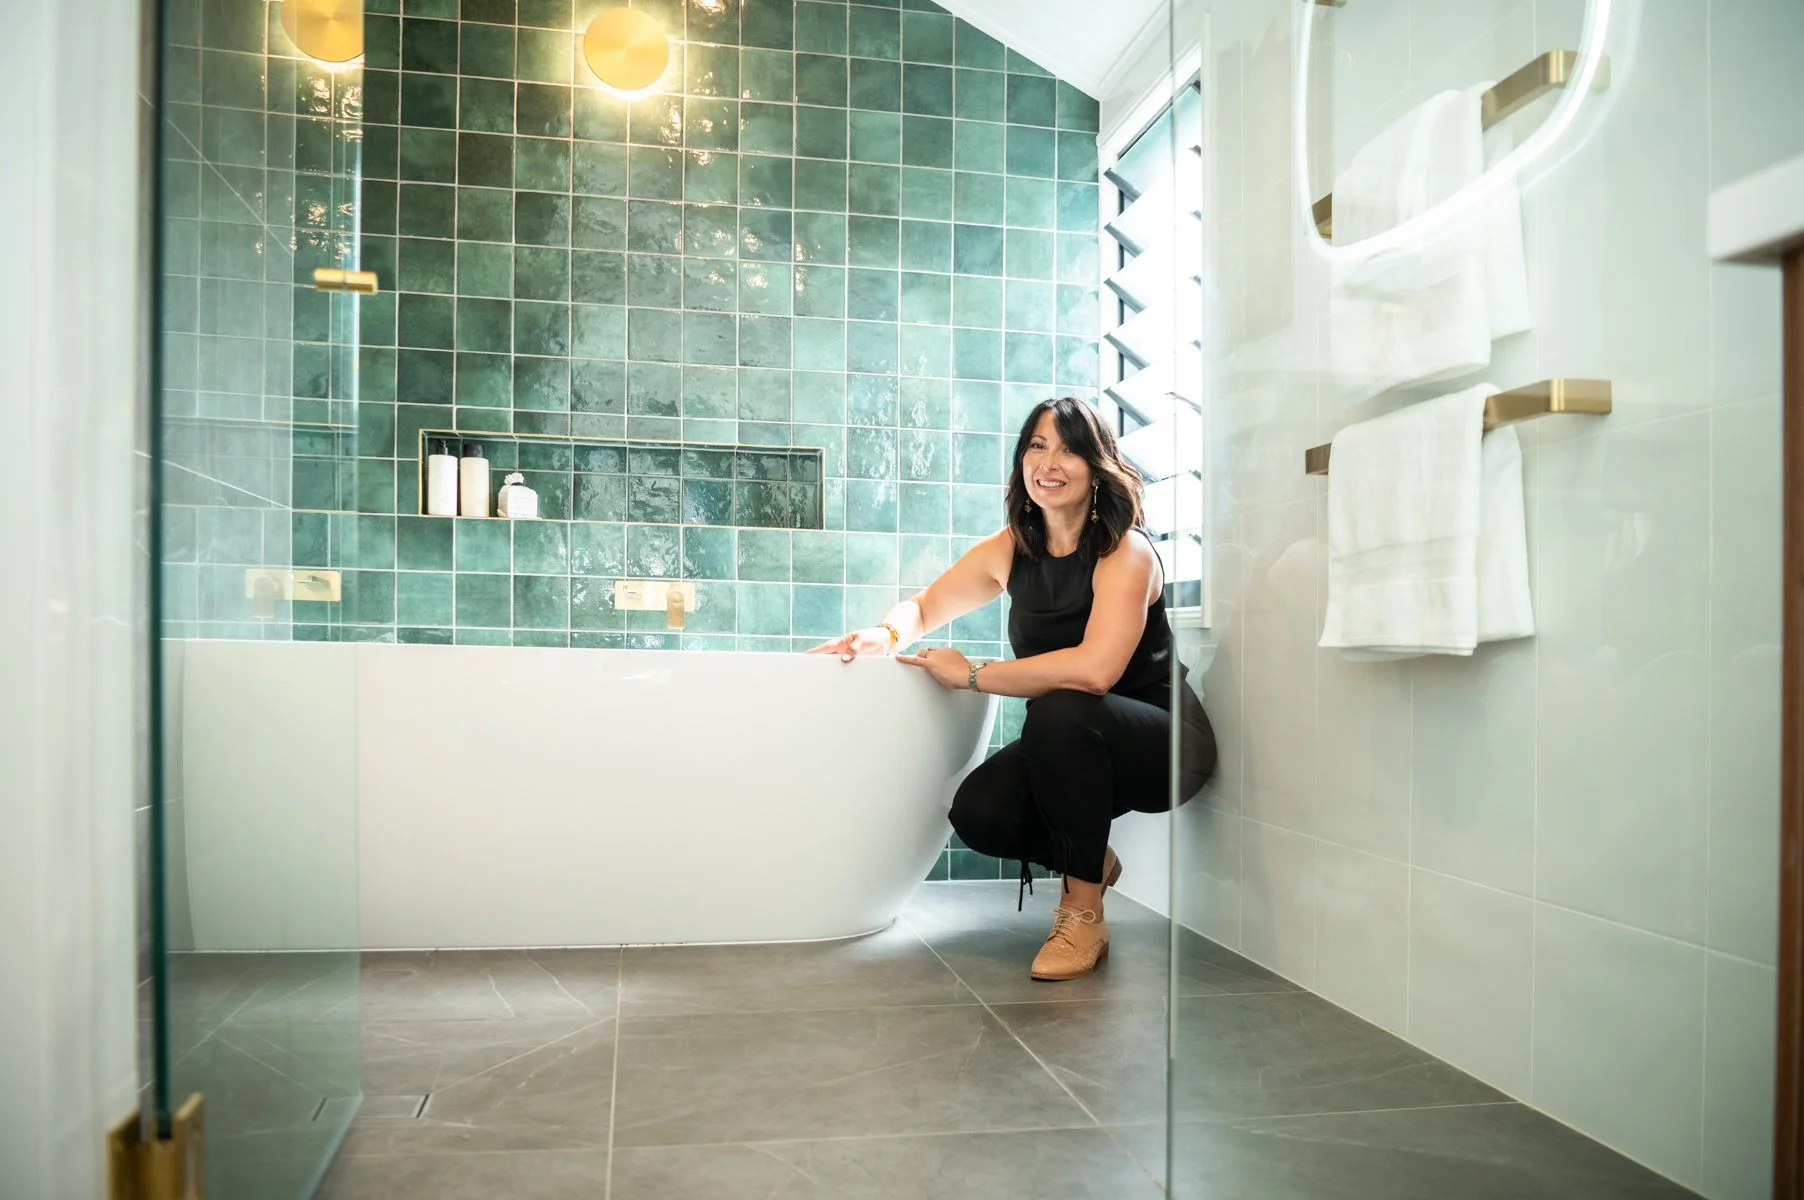
Hawthorne - Modern Bathroom in a traditional Queenslander
1. Do your research
Think about the vibe you want, and imagine how the tiles will fit in. Check out home magazines, Pinterest or have a look through out gallery for examples of various tiles lays and combinations.
2. Create a Focal Point
Tiles can be the star of the show, so why not make them stand out? Think of creating a feature wall behind your vanity, bath, or shower. Bold tiles can totally transform a space, while more subtle tiles can complement other features of your bathroom.
3. Think About Your Bathroom Size
The size of your bathroom should play a big role in your tile placement. If you’re working with a smaller bathroom, larger tiles can help make the space feel bigger since they have fewer grout lines. For bigger bathrooms, feel free to experiment with different patterns or mosaic tiles for some added texture and style.
4. Get Your Layout Right for Visual Balance
How your tiles are laid out will totally change the way your bathroom feels. Whether you’re going for symmetry or something a little more dynamic, make sure everything’s aligned and balanced. Tile placement is one of those details that can make or break the design.
5. Tiles Should Be Functional Too
While tiles are great for style, they’re also super important when it comes to function. For high-moisture areas like showers and baths, make sure you choose water-resistant tiles and grout. And for the floor, don’t forget about slip-resistance—safety first!
6. Smooth Transitions Between Walls and Floors
You want your bathroom to flow seamlessly, right? The transition between the floor and wall tiles can make a huge difference. Whether you use the same tile throughout or pair complementary ones, keeping the transitions smooth creates a polished look.
Modern Bathroom Renovation - Henderson Street Bulimba
Tip: If you want the room to feel taller, use larger tiles on the floor and smaller ones on the walls.
7. Don’t Go Overboard with Patterns
We all love a fun pattern, but too many can make your bathroom feel a little chaotic. It’s all about balance—stick to one or two key patterned tiles and let the rest of the space remain neutral.
8. Grout Matters (More Than You Think!)
Grout colour can totally change the look of your tile design. Want to make your tiles pop? Go for a contrasting grout colour. If you prefer a more subtle, seamless look, match the grout to the tile colour. It’s the little things that make all the difference!
Tip: Light grout makes dark tiles stand out, while dark grout blends better with light tiles.
Grout lines: Keep them tight for a modern look. Wider grout lines can give a more rustic or traditional vibe.
9. Use Tiles to Define Different Zones
If your bathroom is on the larger side, you can use tile placement to create distinct zones. For example, you could use a different tile for the shower area versus the vanity or floor. This helps break up the space without making it feel cluttered.
10. Ceiling Tiles? Yes, Please!
Here’s a fun tip: consider tiling your bathroom ceiling (especially above the shower or tub) for a unique, luxurious touch. It’s unexpected and elevates the whole space, plus it’s practical for moisture-prone areas!
Tile placement might seem like a small detail, but trust us, it’s a big deal! With a little planning, creativity, and some smart choices, your bathroom renovation will turn out stunning and functional. From choosing the right patterns to ensuring smooth transitions, these tips will help you create a bathroom that’s not only beautiful but super practical too.


